
Debra is a full-time RVer who has traveled coast to coast looking for the cutest bookstores and the perfect cup of chai. She and her husband enjoy creating community on the road by meeting up with friends or finding new ones enroute. They love sharing their adventures and making friends here at The Virtual Campground and sharing Barry’s great photography.
We got in our new trailer and all I could see was brown. It is a lovely dark brown, but so much wood! Heavy cabinets, large cornices, wood doors. It appeared that we were in for some RV decorating! The walls were the normal RV beige and the floor was a brownish fake wood. Maybe RV manufacturers are concerned with dirt so think we should have dark homes. While some newer models are fresher looks, many of us are stuck with brown and no budget for a renovation. The good news is that it is now fairly easy to to brighten your home and easily decorate with a quick weekend of easy RV renovation.
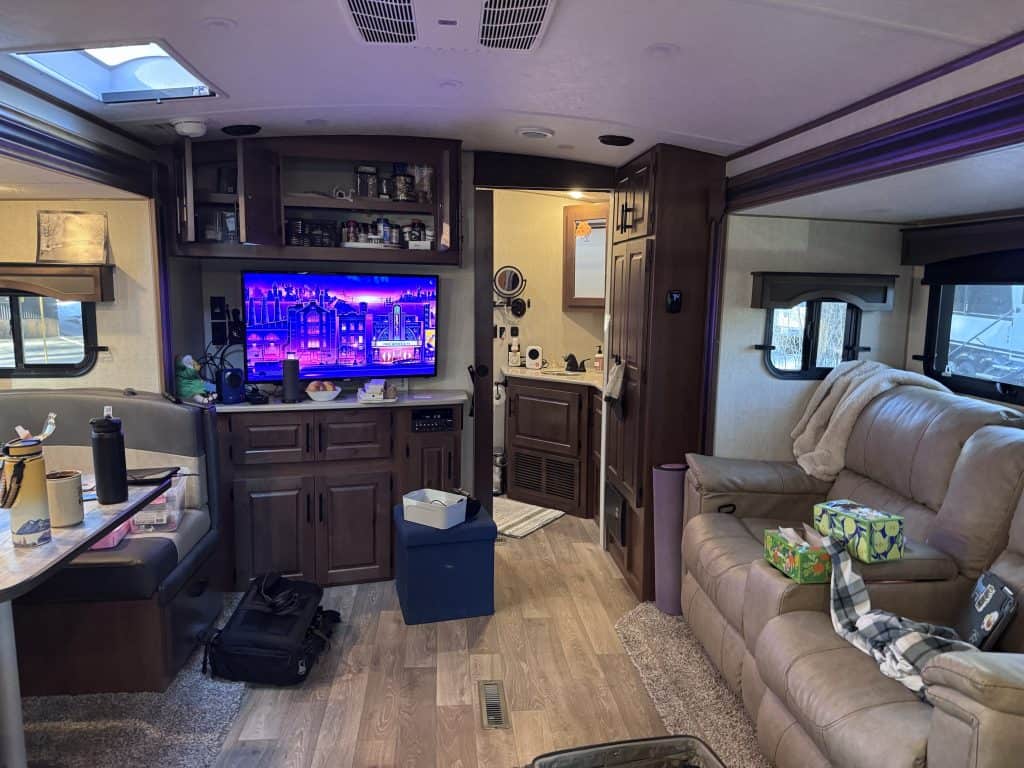
Of course, the easiest thing is to simply add accents pillows and a carpet for splashes of color. You can also hang pictures if you have blank wall space. We use heavy velcro to attach them securely to the walls so no shifting occurs during travel. It easily comes off when you pull and the taped velcro on the wall can also be scraped off without damage. We used super heavy velcro to attach this lamp to our counter in our first RV and it never moved!
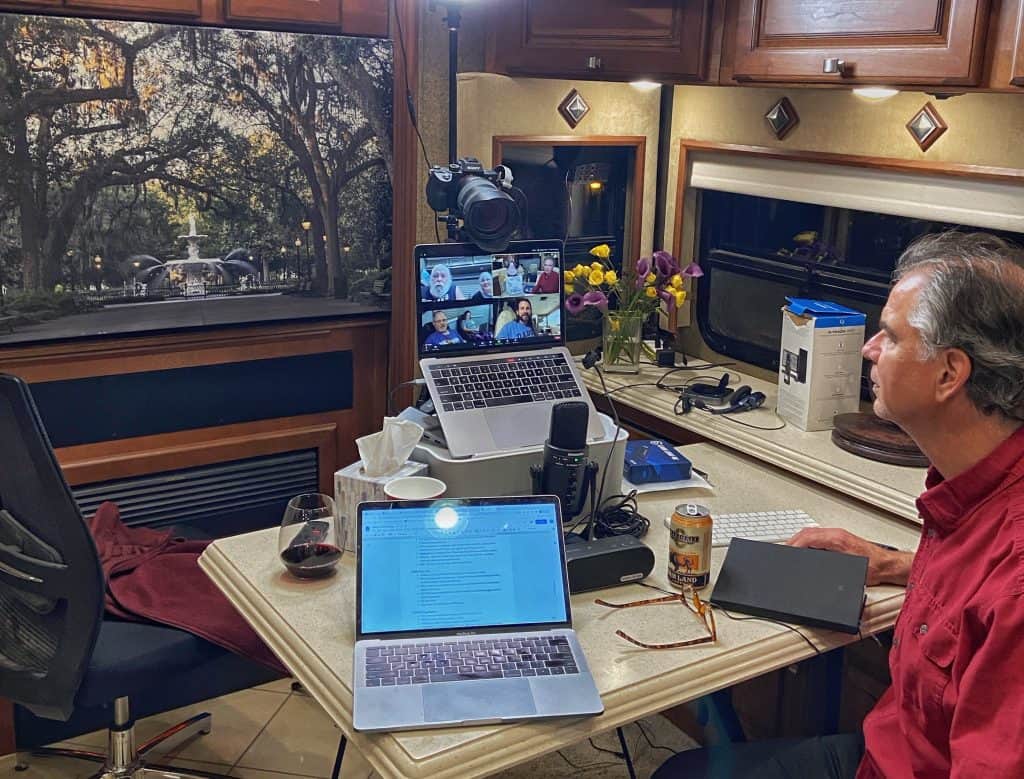
We like decorating with photos. With little wall space, we decided to get a large canvas made from an image we took of the Savannah fountain. The canvas was easy to hang by its frame over the television (be sure to measure carefully and allow some room to get it on and off). It was easy to remove for watching, but otherwise hid one of the two or three televisions that RVs think are necessary. We currently have a tiny television in our new bedroom and I look forward to finding a new image to cover it up.
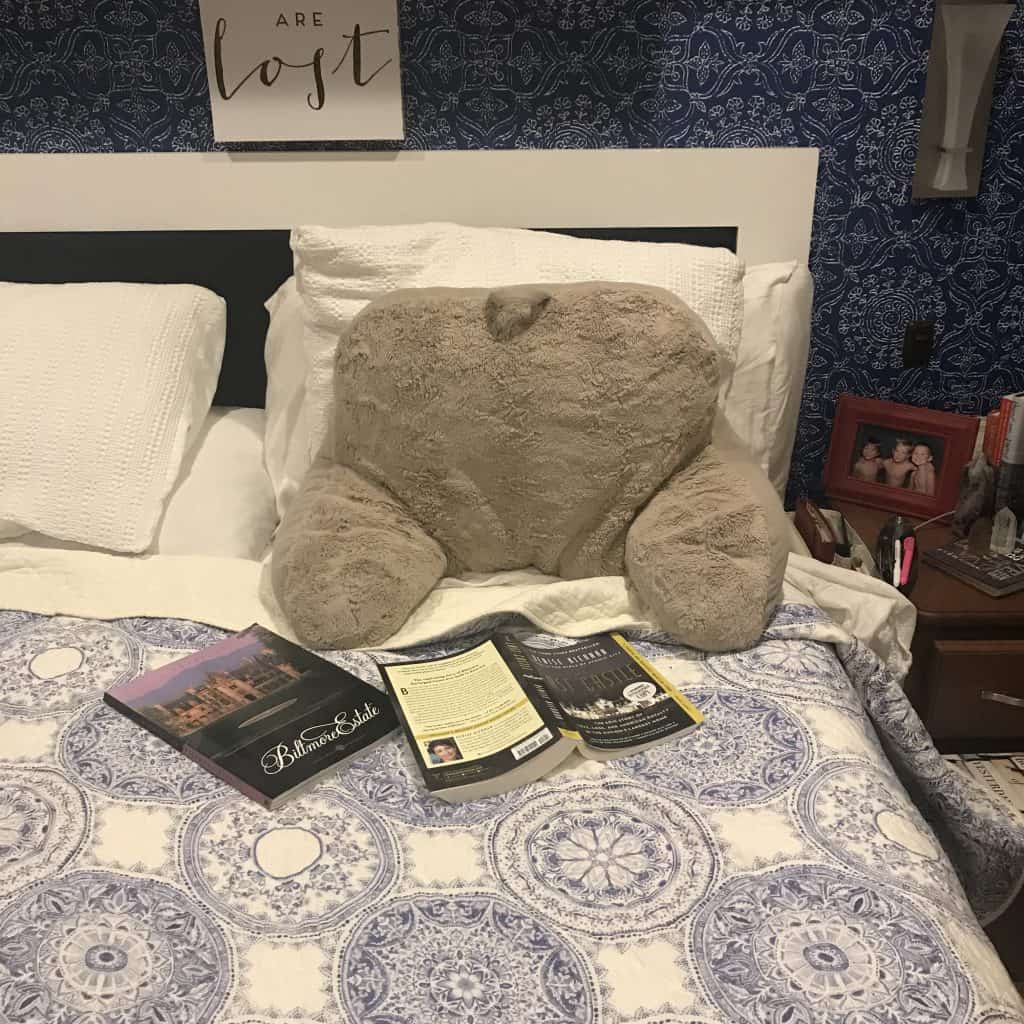
Another easy fix is to get rid of the ugly bed covering that came with the RV. Seriously, who wants to sleep under the usual brown pleather they use! Get bedding that fits your style and makes your room cozy.
Another easy fix for the chairs or the bench cushions in the dinette are the elastic coverings. No need to sew or get anything reupholstered. Go online to find your favorite and in five minutes you have a new look. I did this in our Class A with the chairs by adding a cover that made it look more like a Parsons chair. In the trailer, we have a dinette with brown (of course) covering. There is a great variety of colors and patterns, and they are not very expensive. You might even get a second set to change it up occasionally or to decorate for the holidays.
Bigger Changes
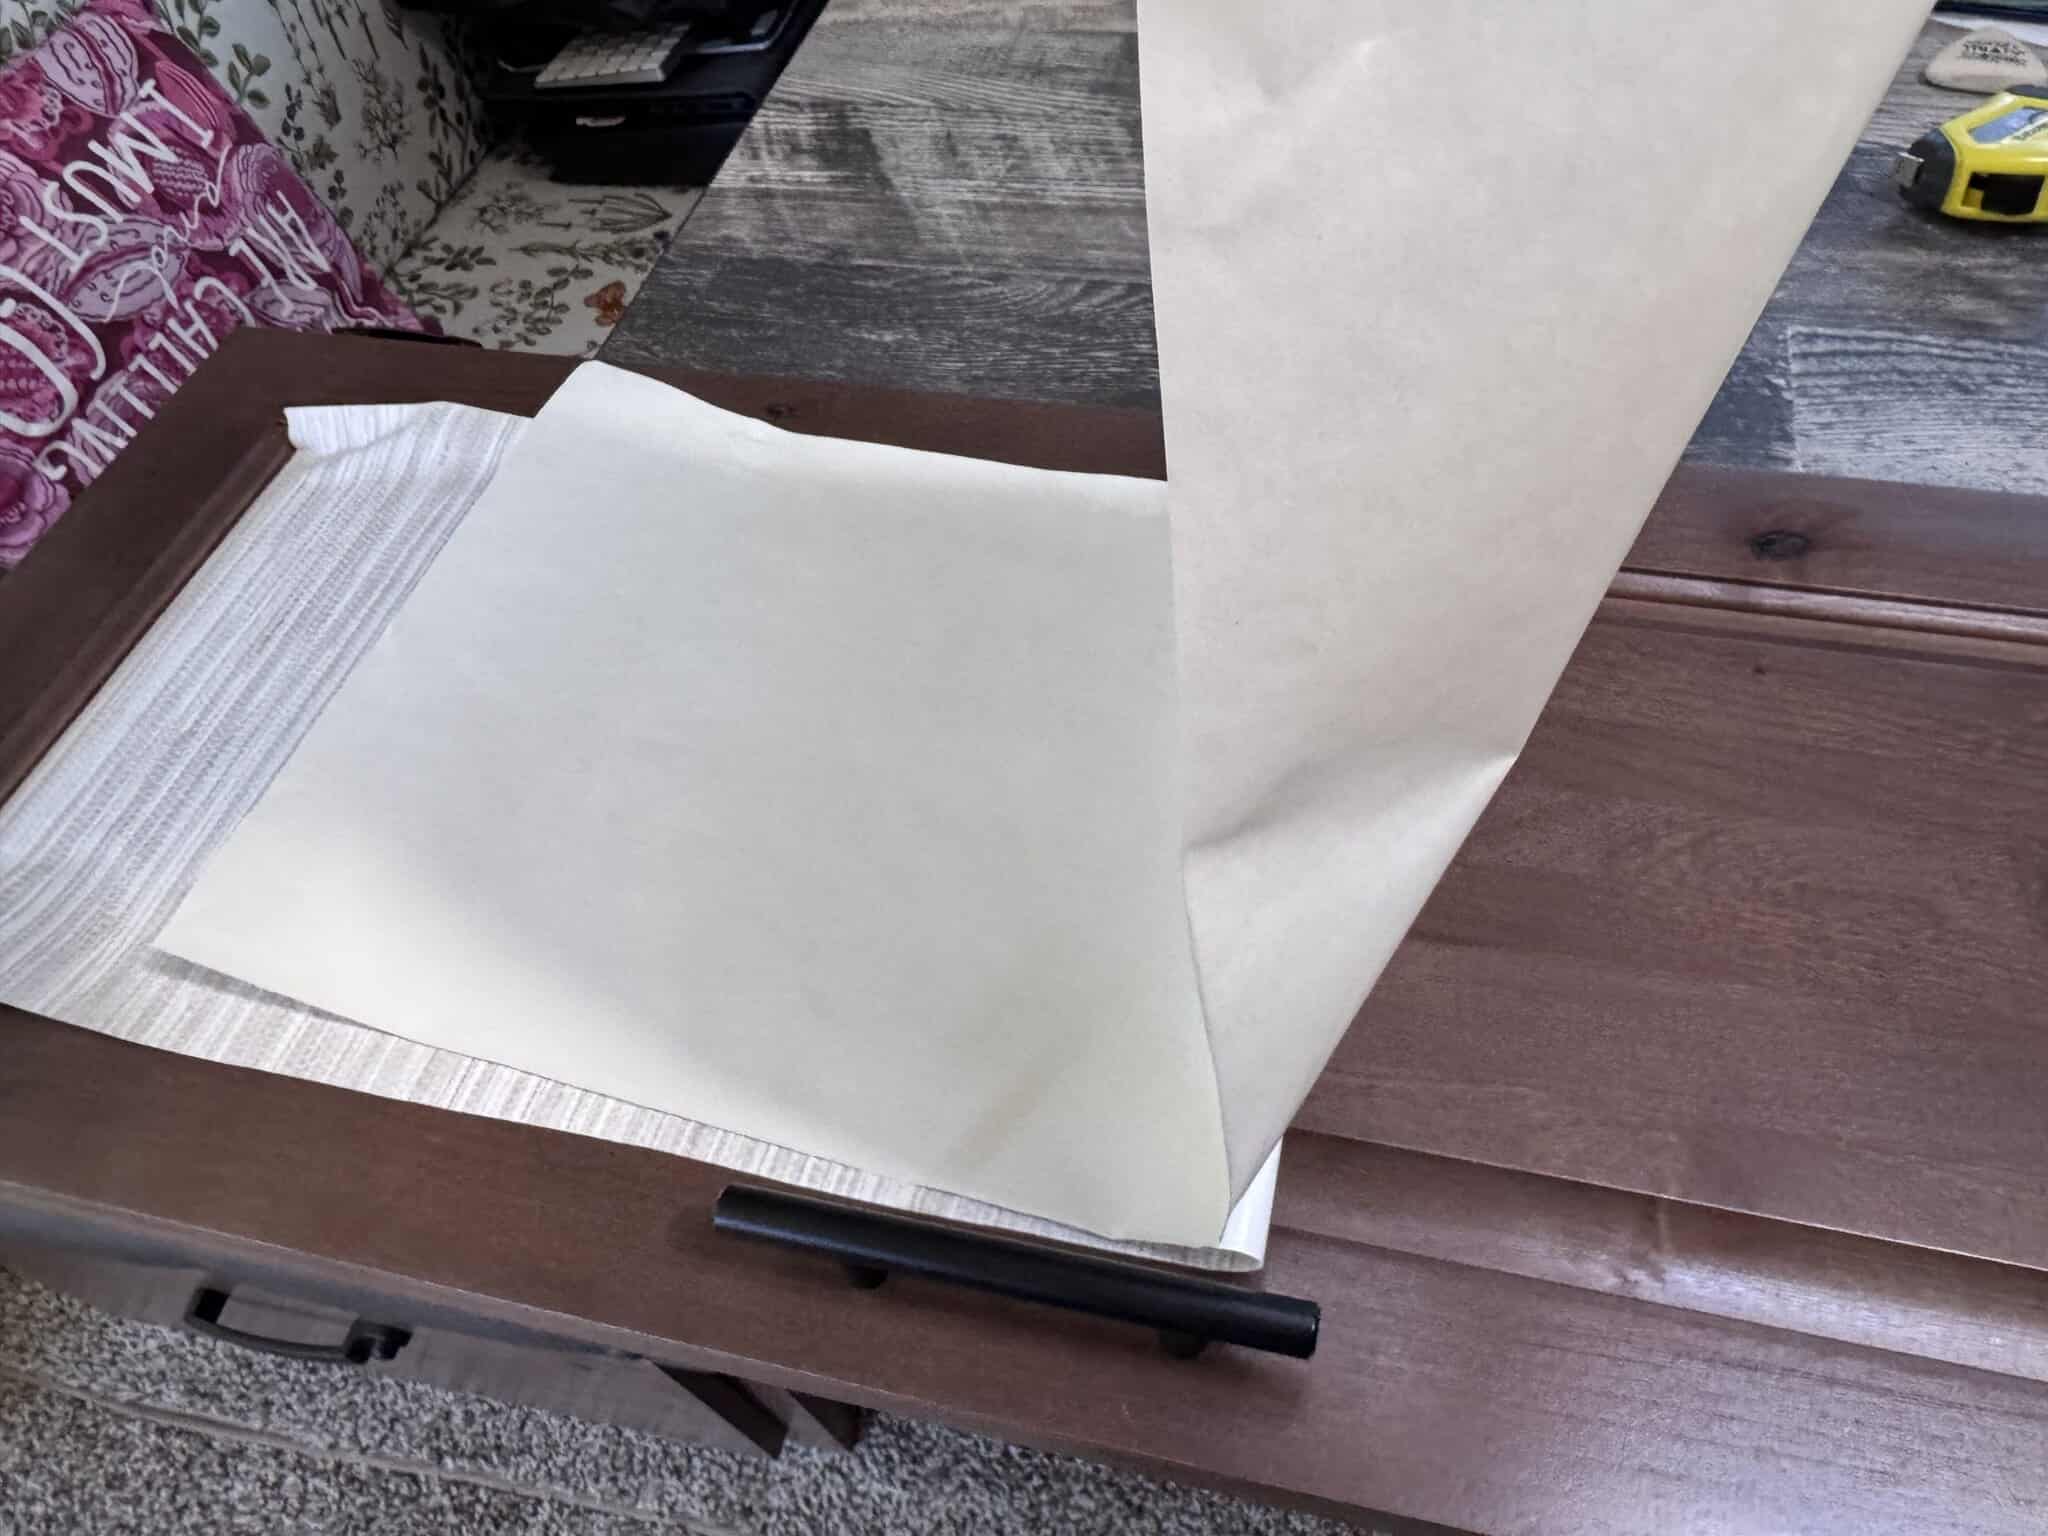
With a little more effort and time, you can really transform your RV and create something unique to you. Peel and stick wallpaper is easy to apply and can be as big or small of a project as you want. It can cover an entire wall or just add accents.
It comes in a huge variety of patterns and colors. You can find it at the local Home Depot or Loews. For a greater selection, go to Amazon or Wayfair. Just make sure to measure first and buy enough to have some left over. Not only does this give you room to mess up, but it also can be key to get all you need at the same time. Some patterns can change at the various printings and not be exact matches if you purchase it later.
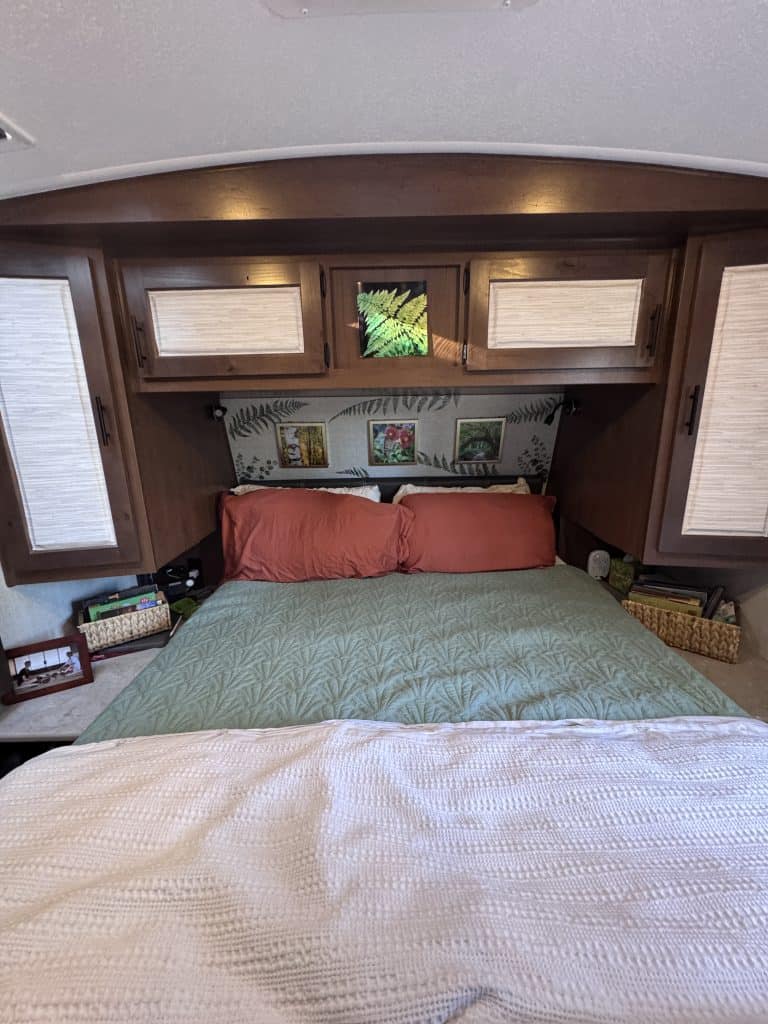
I added paper to the walls in our bedroom and bathroom of our Class A. In the trailer, there is much less wall space and the wallcovering is lighter. In the bedroom, I decided to simply add fern decals above our bed for added color and interest. I also added a favorite saying to one of the brown doors to break up that space.
The added florals and bed coverings made the room look more inviting, but the wood was still so heavy. I didn’t want to take on a massive project and paint the cabinets. This is very doable according to many on YouTube, but I was just not up to it. It is very labor intensive and hard when you live in the same space full-time.
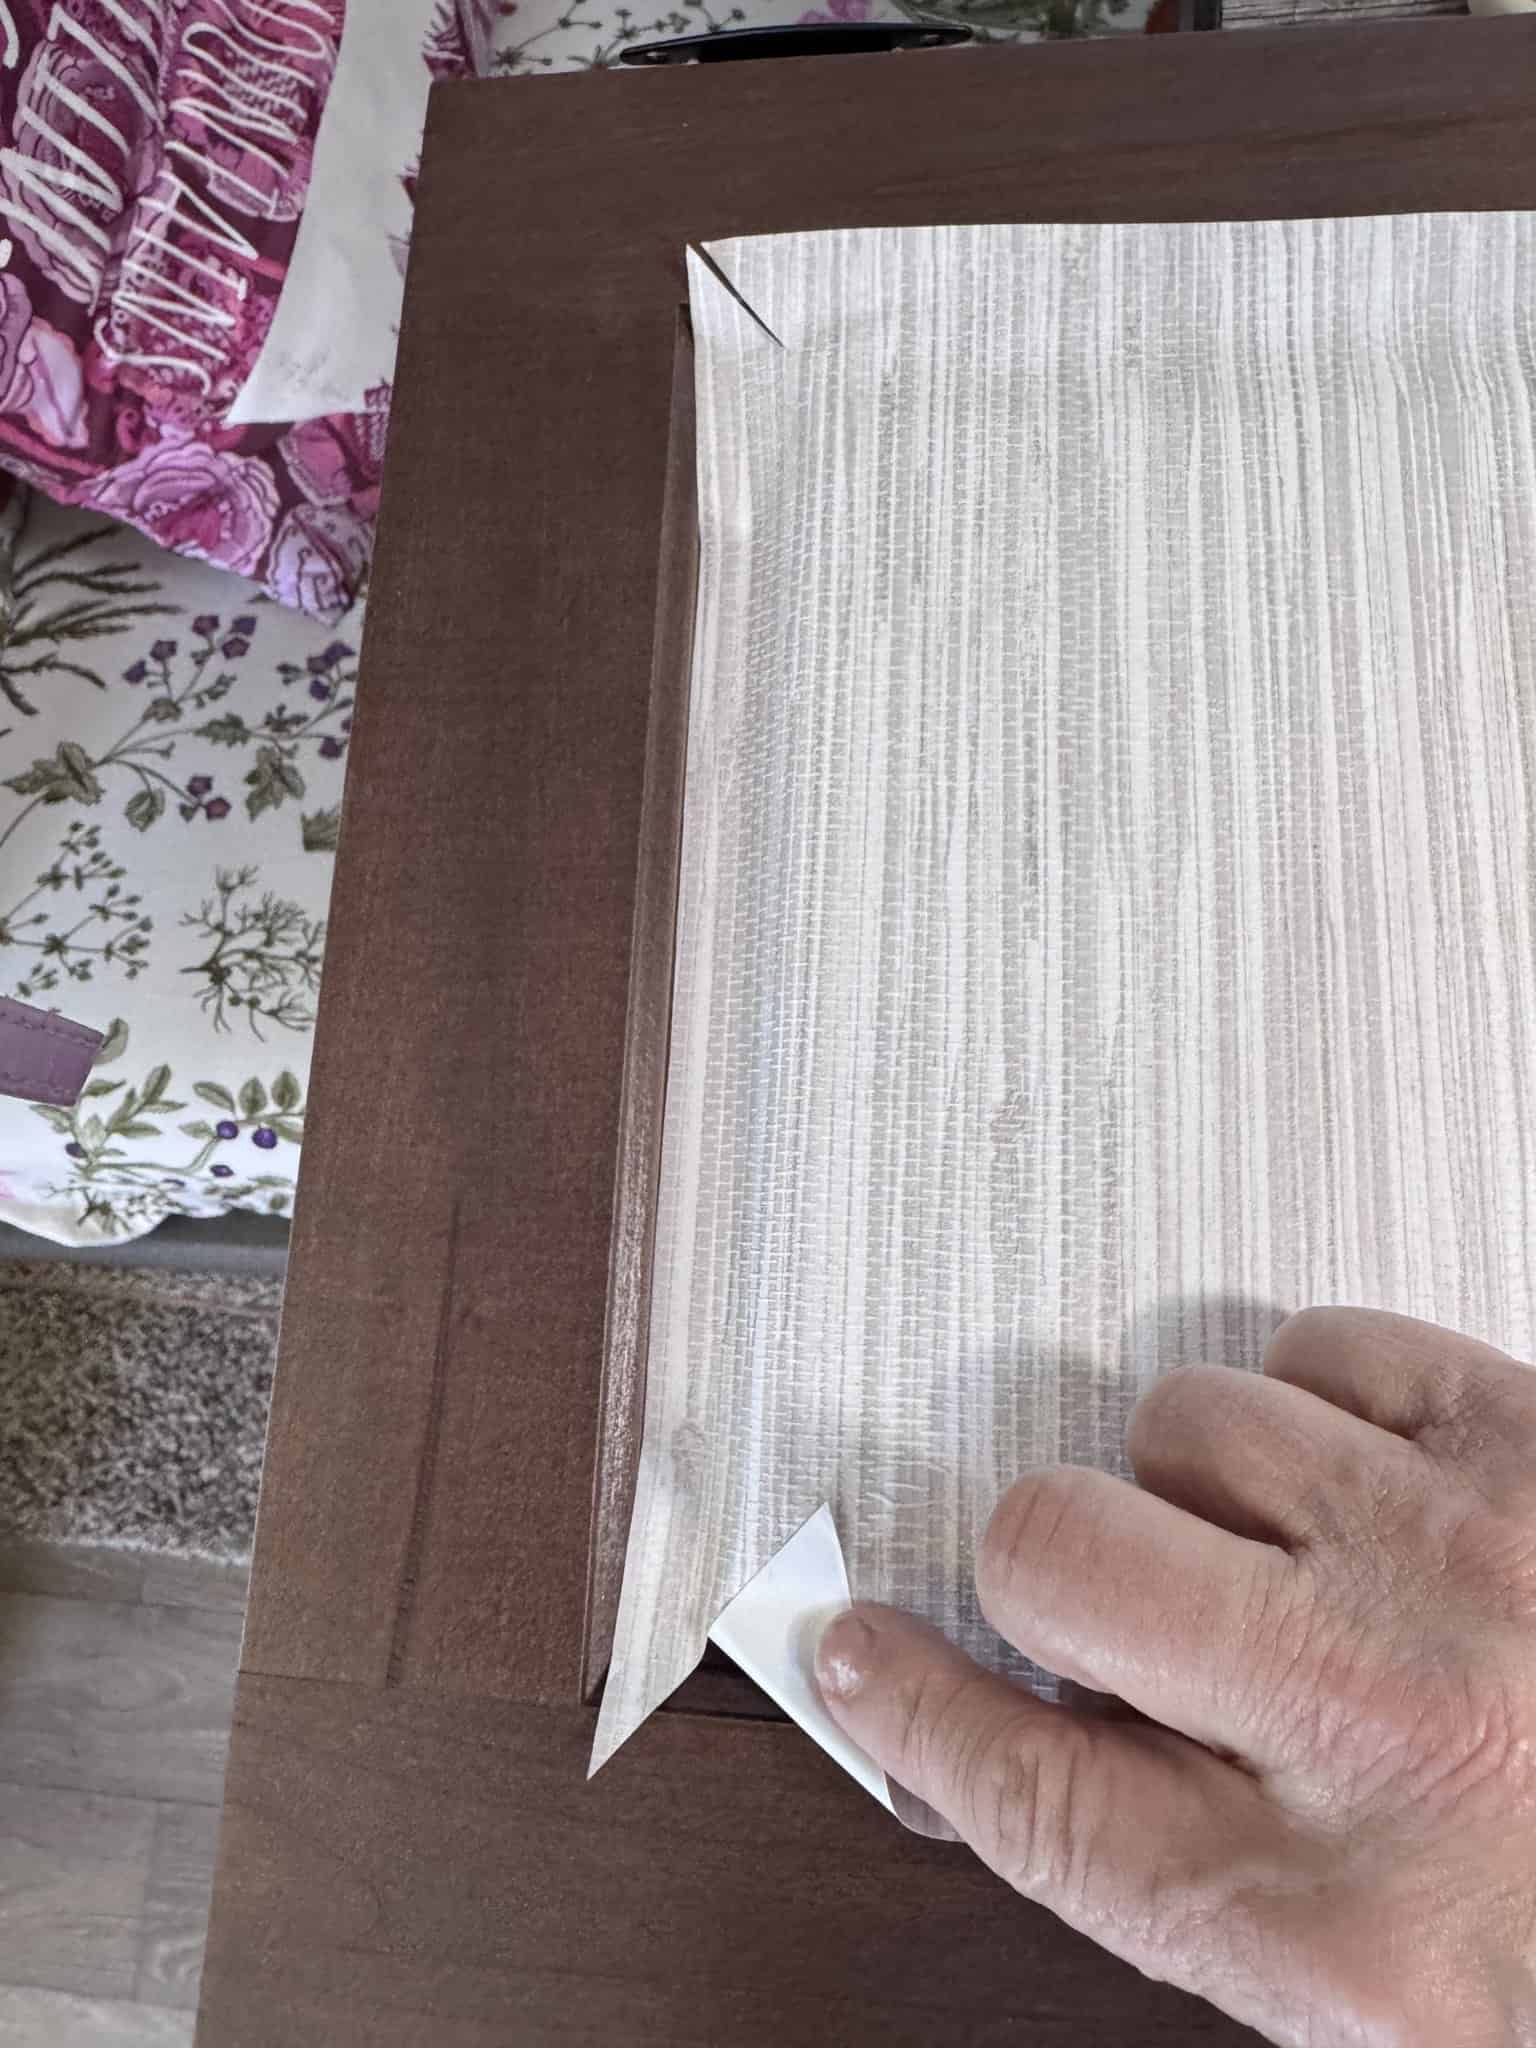
Instead I turned to the trusty peel and stick to give texture and color to the cabinets. Using a grass linen paper, I covered the interior panel of the cabinets in the bedroom. It was a bit tricky since they were beveled, but with careful cutting and crisp edges, it turned out well.
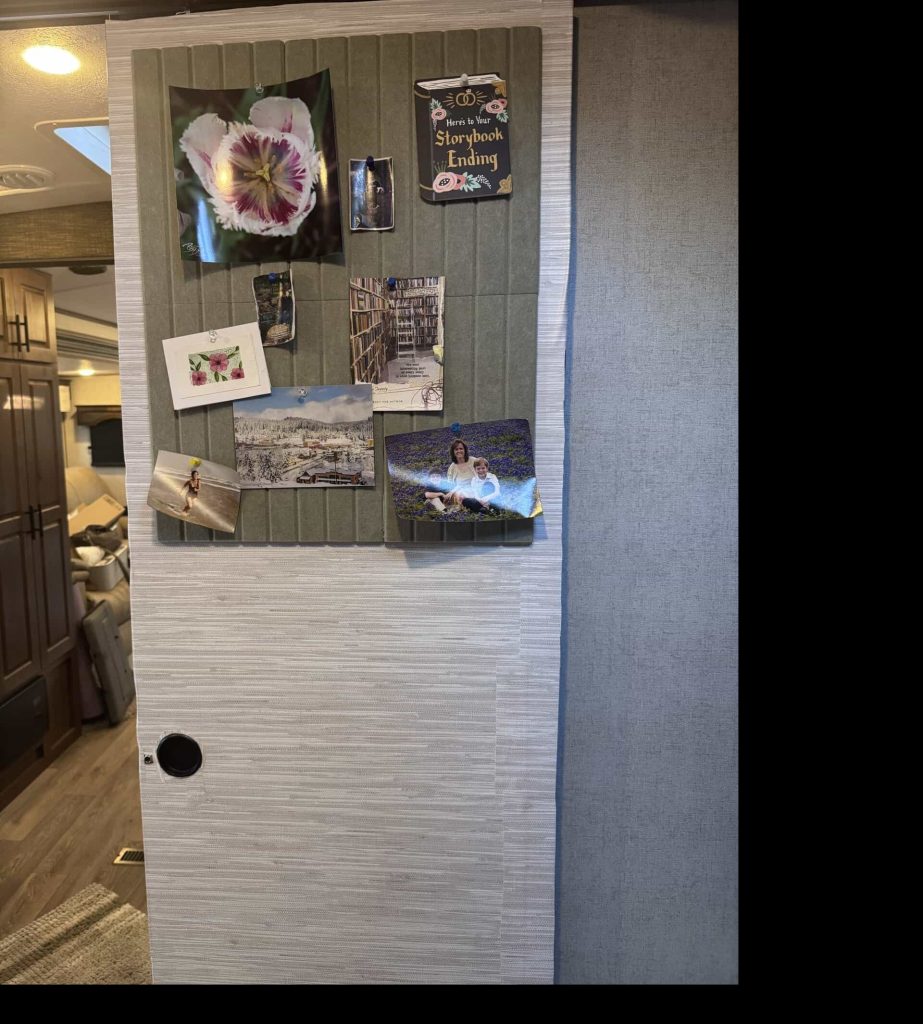
I also covered the door on the bedroom side to lighten the room more. Then applied foam board that could be cut and stuck to the door with the sticky squares they provided. I will be checking to make sure they travel. If not, I an get my velcro or more hearty sticky tape. I am excited to use this space for postcards and personal pictures that I can easily see from my bed. With the white wallpaper behind it showing on the edges, it has a framed look.
Next Project
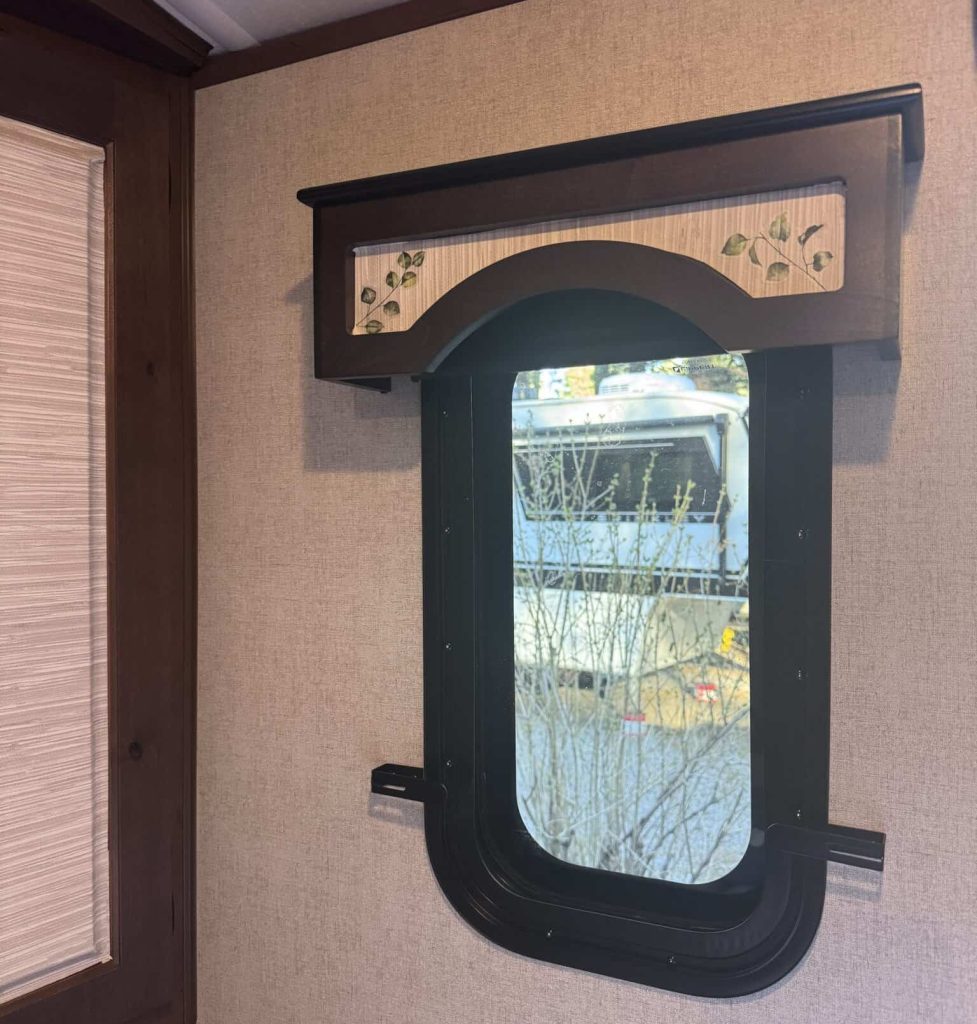
The valances in this trailer are very heavy wood. I am working on a few ideas to lighten the area including curtains for over the reclining chairs. In our Class A, I took down the valance in the bedroom. Using a couple of pretty towels found on our travels, I created curtains. I am not a seamstress, but easily hand sewed a pocket hem. Then passed a tension road through the hem to hang them.
Since the peel and stick worked well on the cabinets, I thought I would try it on the valances to brighten them. On the fabric covered valances above the doors, I want to find a complimentary fabric and cover them. Maybe a towel or the pillow sham that came with the quilt. That will be next weekend’s project.
For now, I am pleased with the progress and am enjoying my new little nest.
I would love to hear your ideas and comments on my changes. Let me know in the comments! For more ideas, be sure to check out a few of our YouTube shows or the RV Inspirations page.
Hints for Peel and Stick Application
- Clean your work area
Obvious maybe, but do make sure it is clear of adhesive and fairly smooth.
- Decide if want to start at end or in the middle.
This can depend on the pattern or space. You might start in the middle to give yourself room on both sides to line up the image or pattern. I tended to choose the largest section to start on a wall and then to cut pieces to match and line up with that as needed. This was particularly important in a bathroom. Before starting also determine how you want the patterns to match or go on the wall – check that you are hanging it “right side” up depending on the pattern. You don’t want birds flying down or flowers windswept to the side.
- Measure, then measure again, leaving room around the edges for cuts.
This is key. I prefer to have the pieces larger than I need to cut it down especially since the edges are often not straight. My ability to measure correctly and cut it to measure are not high! I give myself a lot of room and grace.
- Carefully peel one corner from the paper and take about an inch or so down to get your piece placed.
This lets you double check your measurement to the actual area and line it up for positioning. Then you can slowly pull the rest of the paper away.
- Pull down the backing slowly, trying to lightly attach to the surface.
Watch for air bubbles and do not be afraid of pulling it off to try again. On walls, it is important to start at an edge and match the pattern as you go along. When doing small projects like cabinets, attach down the middle so it is easy to pull off or to smooth from the middle.
- Smooth out bubbles and get it on squarely to fit, using your hands or a flat surface like a ruler or piece of wood.
Again, if doing a wall, you might use something larger to smooth it on. I found my hands to be easiest as I tended to do small pieces at a time. When using a pattern, be careful to watch how you match it up so that the pattern repeats cleanly.
- Cut to fit
After firmly getting the main section in place, you can use a straight edge to cut away the excess. In the case with the cabinet, I found it very key to make sure the edges were crisply tight and to make a small cut in the corners to ensure a flat application.

Wow that’s a pretty brown but waaay too much . Our toy hauler has chocolate brown but a lot is not real wood has a wood look paper over it . I hate it. Also the wall are a textured paper hard to get stuff to stick. I made curtains for bedroom windows out of a thermal clearance curtain from Walmart. Really helps with insulation.ill send a pic if I can figure that out
Would love to see that. I am looking at what I might do for window coverings to get rid of some of these valances. You can always email me the picture! I am not sure the paper on RVs can come off as it is part of the layers of wall. The peel and stick works over it and many folks have painted it.